Common Lighting Mistakes in Rental Apartments and How to Fix Them Without Wiring
Renters can't rewire anything, but dark corners, harsh overheads and badly placed switches are all fixable...

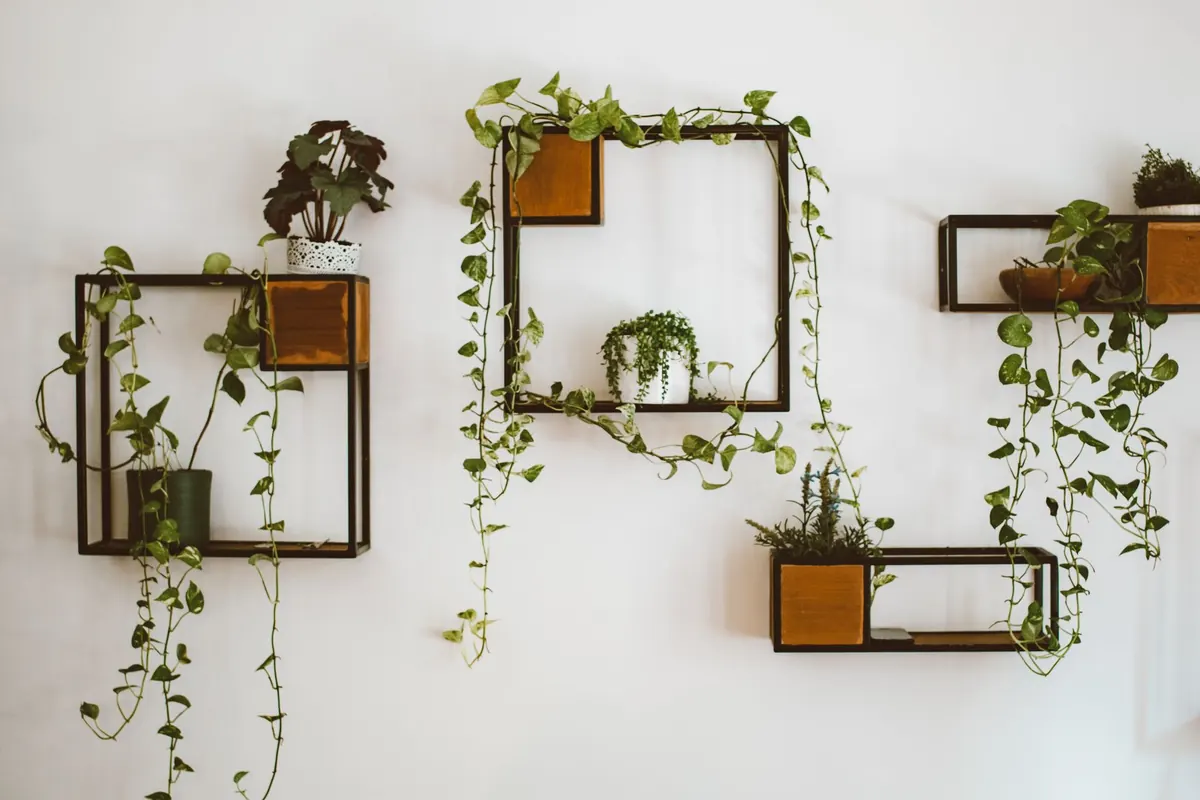
Floating shelves look effortless, which is exactly why they are unforgiving. A shelf with visible brackets can flex a little and still look fine. A floating shelf with a drooping front edge or a gap at the wall looks wrong from across the room, and no amount of styling hides it. The difference between a solid shelf and a sad one rarely comes down to skill. It comes down to three decisions you make before the drill comes out: the bracket, the anchor, and the line you draw on the wall.
You can install a floating shelf with a drill, a level, and a pencil, but a few extras turn a frustrating afternoon into a forty-minute job. Buy the anchors with the shelf, not after — the packaging tells you what wall type and load they are rated for, and matching them to your bracket is easier when both are on the table.
A helper matters more than any tool once shelves pass about a metre in length. Holding a shelf level while marking holes one-handed is how crooked shelves happen.
Floating shelves hide their support inside or behind the shelf. Three systems cover most of what you will find:
A hollow shelf slides over steel rods bolted to the wall. Cheap and common in ready-made kits. Fine for light loads and short spans; less so for a shelf of hardbacks.
A steel plate screws flat against the wall with an arm that disappears into the shelf. Usually the most rigid option, and the one to choose if you want to load the shelf properly.
A French cleat — one strip on the wall, one on the shelf — spreads weight across whatever you screw it into. Excellent for long shelves, though the interlock can be visible at the ends unless the shelf is closed off.
Depth is the number beginners underestimate. A deeper shelf creates more leverage, so the same weight pulls harder on the wall. Something in the 6 to 9 inch range is forgiving and looks right in most rooms. Spanning two studs is a sensible target for a first build.
Slide the finder slowly. Most models signal at the edge of a stud, so mark both edges and split the difference for the centre. Studs are commonly spaced 16 or 24 inches apart, but old houses are rarely that polite, and a stud may sit a few inches off from where you expect.
Confirm each mark by drilling a small pilot hole or tapping a thin nail. Into a stud you feel steady resistance and see pale wood shavings. Into drywall you meet almost nothing and get grey powder. Patch the test holes with spackle; nobody will ever know.
When the studs refuse to line up with your bracket positions, you have three honest options: fix a horizontal backing board into the studs and mount the brackets to that, use heavy-duty anchors, or pick a shorter shelf that reaches the studs you have. Walls of brick, block, or concrete need a masonry bit and a masonry anchor. On tile, tape over the spot first so the bit doesn't skate, and drill slowly with a masonry bit, ideally through a grout line rather than the middle of a tile.
The force that ruins shelves is not downward weight, it is pull-out — the front edge tipping away from the wall. Anchors are designed to resist exactly that.
Every package prints a working load. Read it, then leave a generous margin, because that figure assumes ideal conditions — a flat wall, a perfect hole, and a load centred on the bracket. Yours will be none of those things.
Decide the height first: slightly above eye level for display shelves, roughly 18 inches above a counter for kitchen storage. Then run a strip of painter's tape along the wall where the shelf top will sit. Mark on the tape, not the paint, and you can reposition everything without leaving a scar.
Now test your level. Place it on the tape line, note the bubble, then flip the level end for end and check again. A level that reads true one way and false the other is out of calibration and will cost you an afternoon. Once the line is right, mark the bracket centres and the stud centres on the tape.
Finally, hold a straightedge across the span and look for a gap. Bowed walls are common, and a shelf that rocks against one will never sit flush. Thin shims behind the bracket, or a bead of paintable caulk along the back edge, solve it.
Start with something short, in a hallway or above a desk, holding a couple of books and a plant. Before anything goes on it, press firmly down on the front edge with one hand. If it moves, take the shelf off and fix it now — a better anchor, a bracket moved onto a stud, or a shorter span. Store heavy items near the brackets rather than in the middle, and treat the load rating as a ceiling rather than a target.
One safety note worth keeping: avoid mounting a heavy floating shelf directly above a bed or the spot where someone regularly sits. Even a well-installed shelf can fail, and the consequences are worse when it lands on a person. If you are unsure about a wall you cannot identify, or you are dealing with structural brick or stone in an older property, it is worth asking a carpenter or builder to take a look before you drill.
Photo: ROMAN ODINTSOV / Pexels
Renters can't rewire anything, but dark corners, harsh overheads and badly placed switches are all fixable...
Twelve space-saving furniture pieces that work twice as hard in a small apartment, plus the measurements...
Rotate the wall art you already own for each season — how to store pieces safely, group them, and swap...